The Simplest Way to Deploy Your Deep Learning Model
Introduction
Training a deep learning model is cool, putting it into production is even cooler.
As a student who had changed from a business background to data science, I always found it difficult to learn and do any IT stuff. That was the reason why during nearly two years studying at Monash, I had been avoiding the question “What’s the next thing to do after training a machine learning model?”. At that moment, I knew I should somehow make my model alive by taking further steps - putting it into an application. But the idea of learning any new web/app frameworks while a lot of assignments were coming just discouraged me.
Fortunately, I had Streamlit and Heroku. While, Streamlit is an framework which enables you writing an app without leaving your Jupyter Notebook, Heroku’s platform gives you the simplest path to deliver your apps quickly. I found Streamlit familiar just as Shiny in R and with Heroku, my app was deployed in just a few clicks.
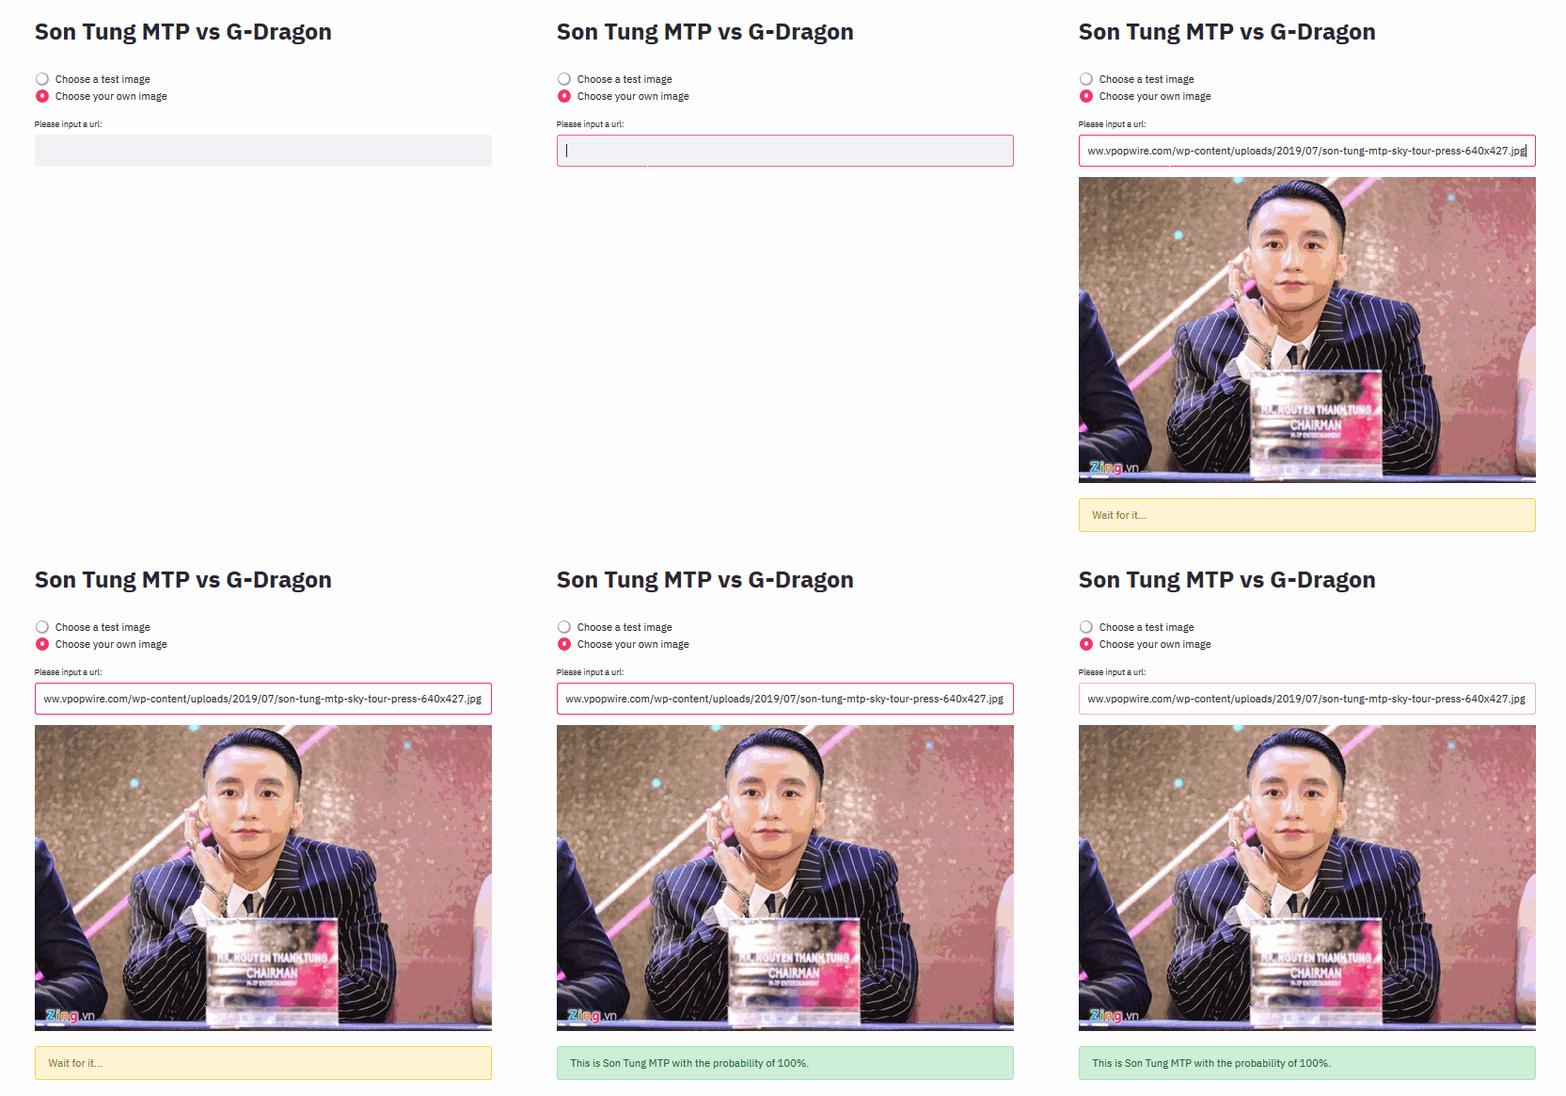
Now, let’s see how I built my first app to recognise if a person is Son Tung M-TP or G-Dragon. This is definitely a challenging task for computers as there are a lot of mutual things between these two people’s appearance.
Building Application
1. Train a model and export it
For the purpose of introducing Streamlit and Heroku, I assume that you’ve already trained a model and exported it using fastai library.
Don’t know how to do it? Check out these lessons:
- Fast.ai lesson 1: How to train a pet classifier with resnet34 architecture
- Fast.ai lesson 2: How to create your own image dataset and build a classifier
2. Build a Streamlit app and run it locally
Install streamlit on your environment
$ pip install streamlit
Create app.py file
-
Import all libraries we need
from fastai.vision import open_image, load_learner, image, torch import streamlit as st import numpy as np import matplotlib.image as mpimg import os import time import PIL.Image import requests from io import BytesIO -
Create the app title with
st.title# App title st.title("Son Tung MTP vs G-Dragon") -
Define the function that loads the model and make prediction
load_learner: loads the trained modelexport.pklinside the given folderst.image: displays an image within the appst.spinner: displays a message while executingst.success: displays a success message

def predict(img, display_img): # Display the test image st.image(display_img, use_column_width=True) # Temporarily displays a message while executing with st.spinner('Wait for it...'): time.sleep(3) # Load model and make prediction model = load_learner('model/data/train/') pred_class = model.predict(img)[0] # get the predicted class pred_prob = round(torch.max(model.predict(img)[2]).item()*100) # get the max probability # Display the prediction if str(pred_class) == 'mtp': st.success("This is Son Tung MTP with the probability of " + str(pred_prob) + '%.') else: st.success("This is G-Dragon with the probability of " + str(pred_prob) + '%.') -
Let users choose the source of input images with
st.radiooption = st.radio('', ['Choose a test image', 'Choose your own image'])-
If they want to use a given test image, let them choose one from the list with
st.selectboxif option == 'Choose a test image': # Test image selection test_images = os.listdir('model/data/test/') test_image = st.selectbox( 'Please select a test image:', test_images) # Read the image file_path = 'model/data/test/' + test_image img = open_image(file_path) # Get the image to display display_img = mpimg.imread(file_path) # Predict and display the image predict(img, display_img)
-
Else, they want to use their own image, let them input the url with
st.text_inputelse: url = st.text_input("Please input a url:") if url != "": try: # Read image from the url response = requests.get(url) pil_img = PIL.Image.open(BytesIO(response.content)) display_img = np.asarray(pil_img) # Image to display # Transform the image to feed into the model img = pil_img.convert('RGB') img = image.pil2tensor(img, np.float32).div_(255) img = image.Image(img) # Predict and display the image predict(img, display_img) except: st.text("Invalid url!")
-
Run the app locally
$ streamlit run app.py
.
Deployment
1. Create Procfile and requirements.txt files
-
For
Procfile, it requires only one line. Note that the file has no extention.web: streamlit run --server.enableCORS false --server.port $PORT app.py -
For
requirements.txt, put all libraries needed to run your appstreamlit matplotlib numpy https://download.pytorch.org/whl/cpu/torch-1.1.0-cp36-cp36m-linux_x86_64.whl fastai
2. Push all the files to your Github repo

3. Create a Heroku account. Go to dashboard and create a new app

- Give it a name

- Connect the app to your GitHub repo

4. Make your app alive

Boom! Your app is ready for public use.
- Link to app: https://mtp-vs-gd.herokuapp.com/
- Source code: https://github.com/trungha-ngx/MTP-vs-GD
